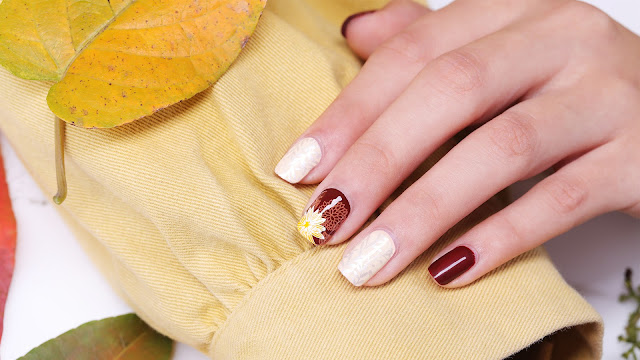
How to Finish Gorgeous Reverse Stamping Nails with Four Steps
Hello dears. How are you? It becomes cooler, just keep warm and take care of yourself well. ❤ Sweeties, do you want to try any cool nails? If yes, do not miss this tutorial project. Now, I am going to share you how to design reverse stamping nail art with three steps, right, it just needs 4 steps to finish your gorgeous manicures. Follow me to check this video~
Firstly, apply your nails with base coat nail polish and one kind of color nail polish; 👇
Secondly, select the pattern of stamping plates ( #38689 ) you love and apply one kind of color stamping polish ( #27268 ), press the stamper onto the plate to pick up the pattern;
Thirdly, apply the top coat nail polish onto the stamper, then paint the pattern with different colored stamping polish ( It is free to use some colors you love);
Finally, apply the peel-off nail latex ( #36614 )around your nails and peel off the nail polish film then apply it on your nails, cut off the extra film. Apply top coat to finish your nails.👅
Feel free to share me your questions if there is anything you do not understand. Remember to use the peel- off nail latex to protect you nails well.
Thank you for the sharing from @peb_nails ♥♥, all of her videos are very helpful. Wanna try it now? You could also finish it even if you are new to nail art. Be confident and design your unique nails. Welcome to share us your creative nail ideas. See you next time!


I love this nail art!
ReplyDeleteGreat!!
ReplyDeleteThanks for your support.
Deleteplay bazaar
ReplyDeletesatta king
play bazaar Motion sensors are good, but having lights on constantly is a better deterrent.
Let's playzeed789
ReplyDeleteLet's playwarp168xyz
ReplyDeleteLet's playbone168s
ReplyDelete